


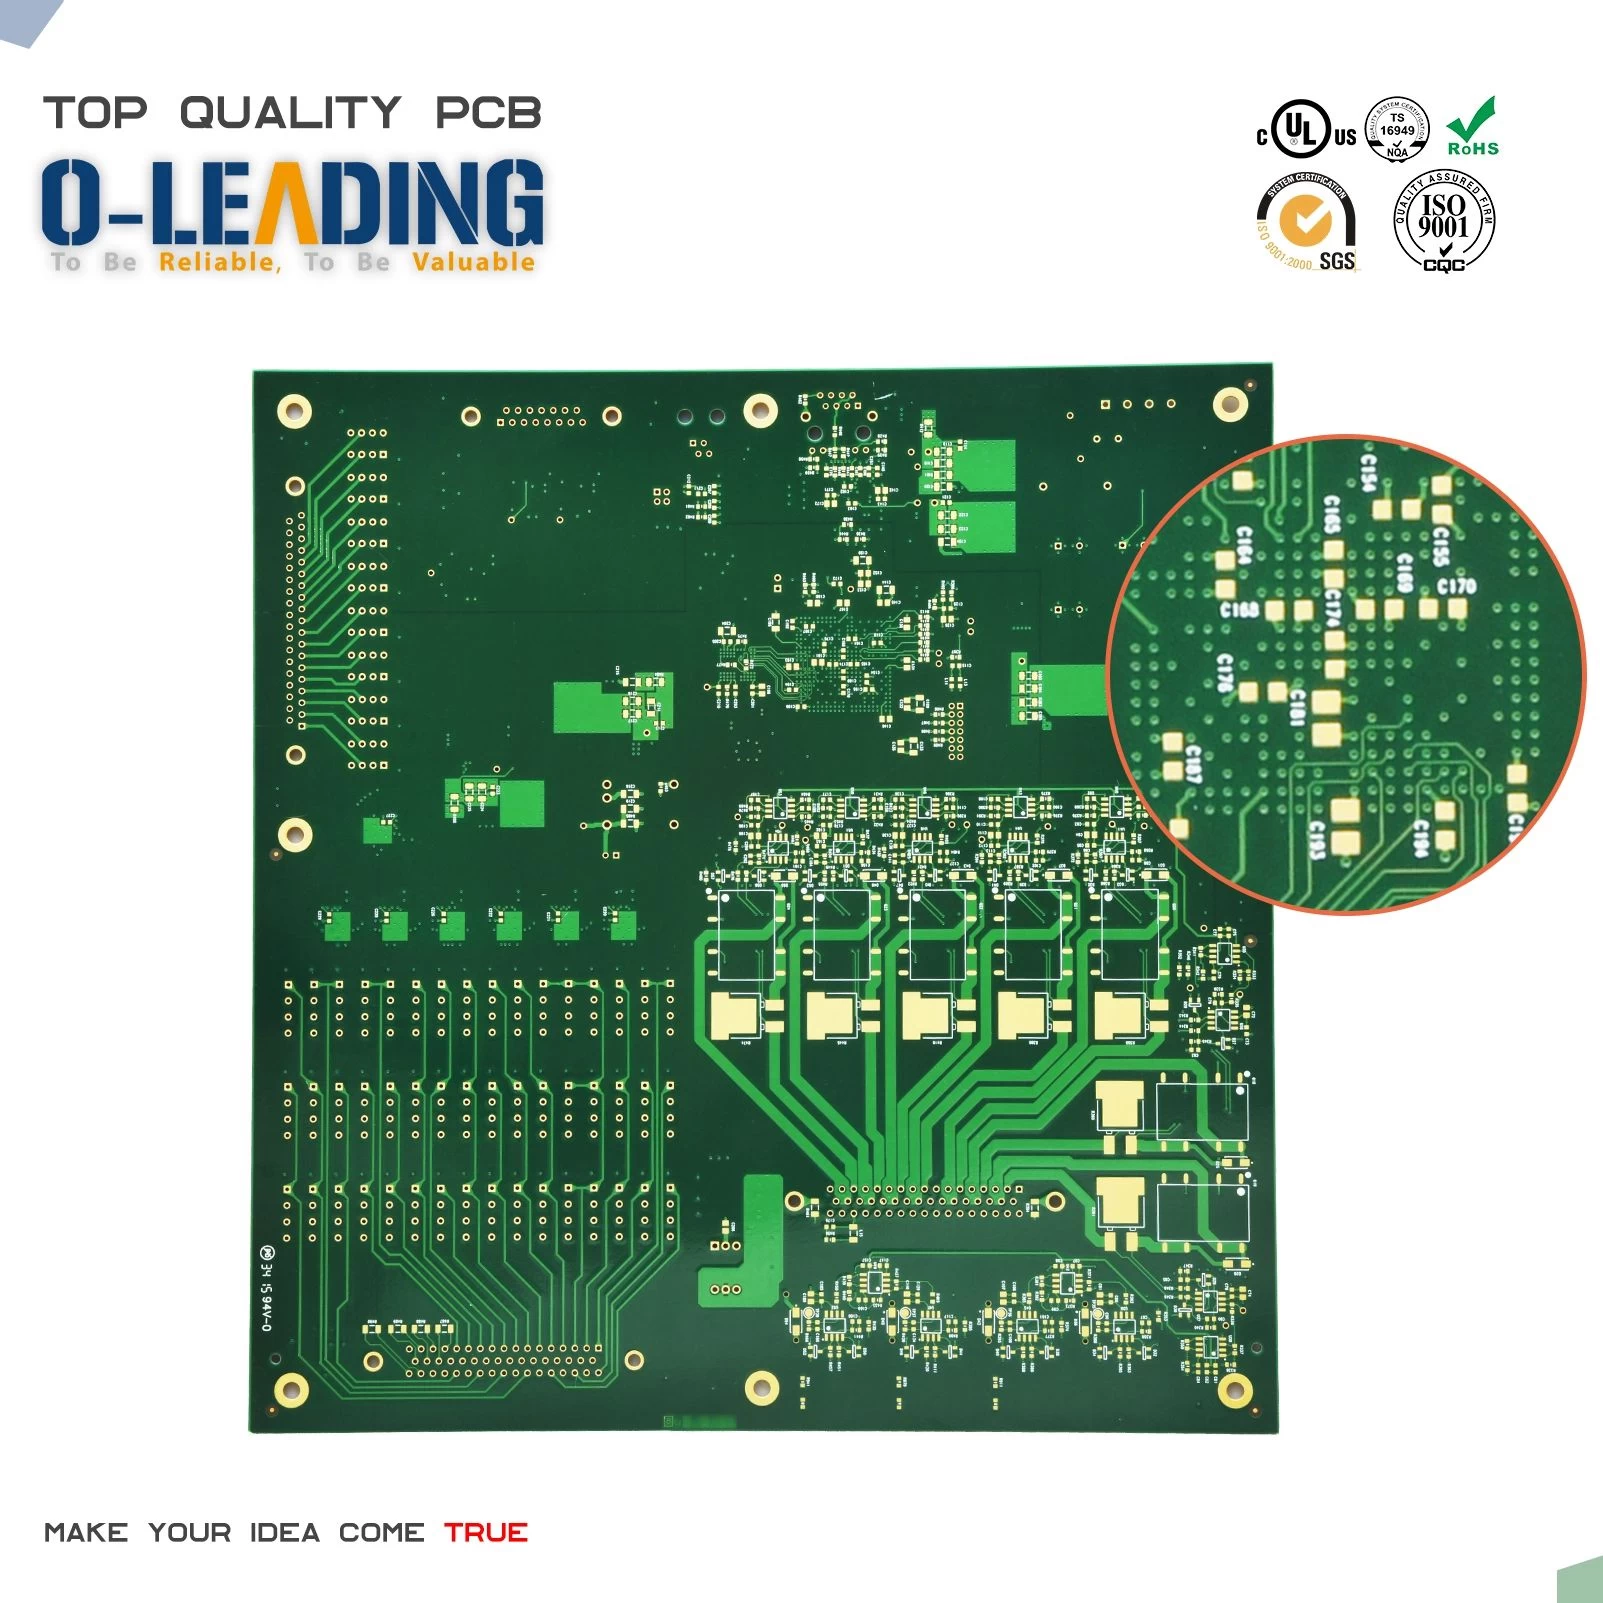
PCB board introduction, advantages and specific steps of copying board
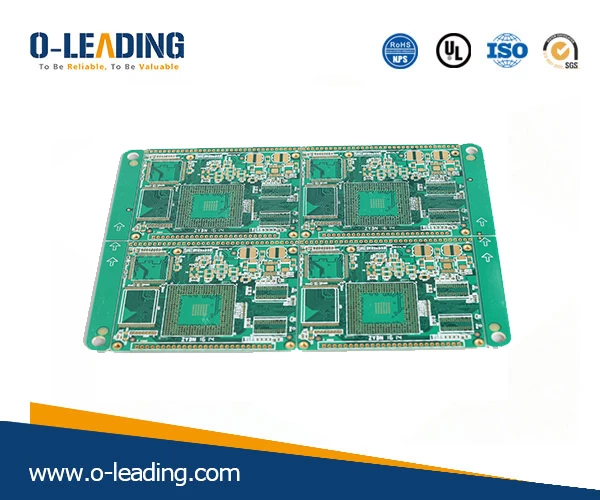
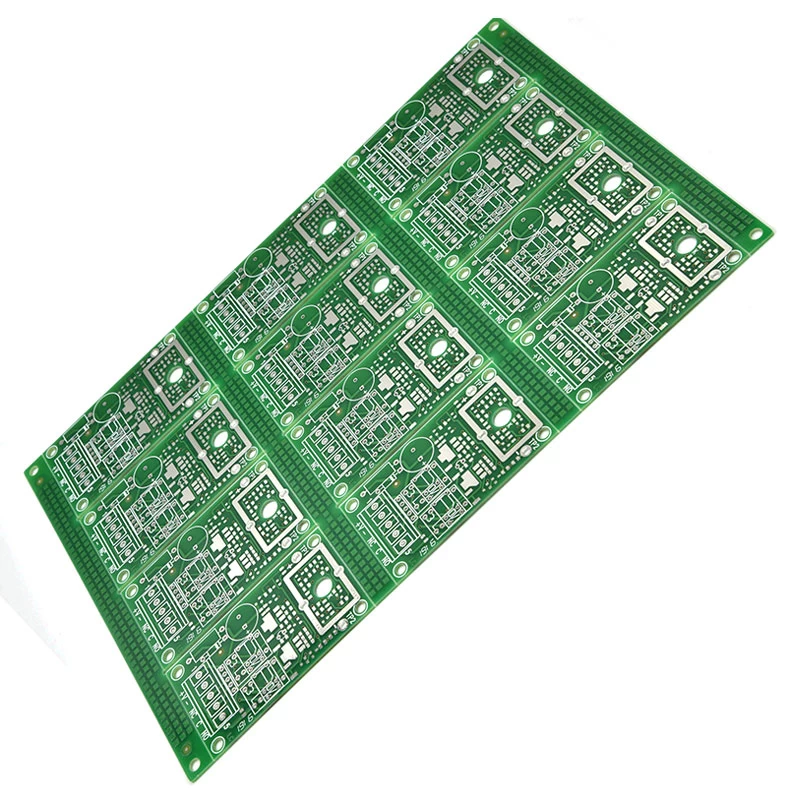
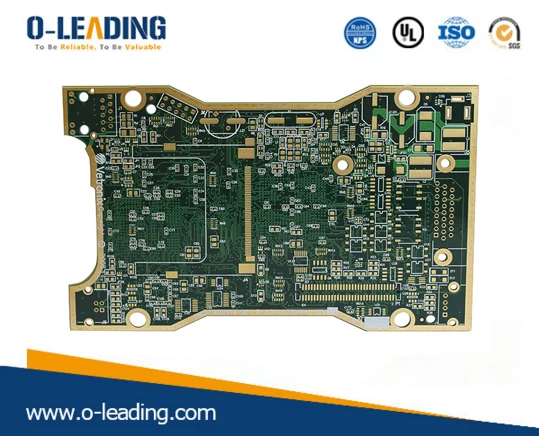
According to the number of circuit boards, it can be divided into single-panel, double-panel, four-layer, six-layer and other multi-layer boards.
The main advantages of using printed boards are:
1. Due to the repeatability (reproducibility) and consistency of the graphics, wiring and assembly errors are reduced, saving equipment maintenance, commissioning and inspection time;
2.The design can be standardized to facilitate the exchange;
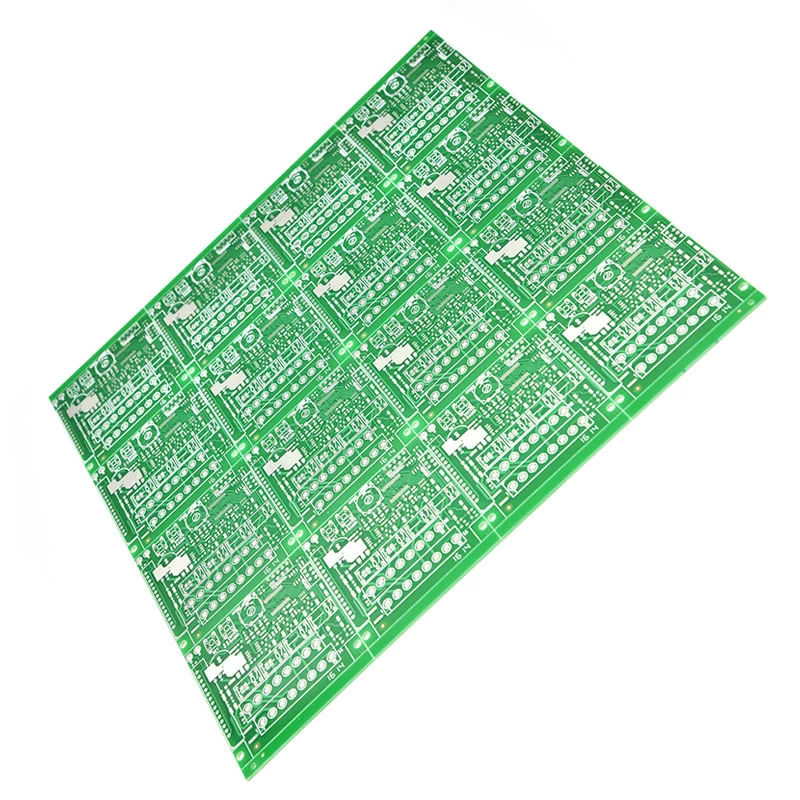
3. The wiring density is high, the volume is small, and the weight is light, which is advantageous for miniaturization of electronic equipment;
4. Conducive to mechanization, automated production, increased labor productivity and reduced the cost of electronic equipment.
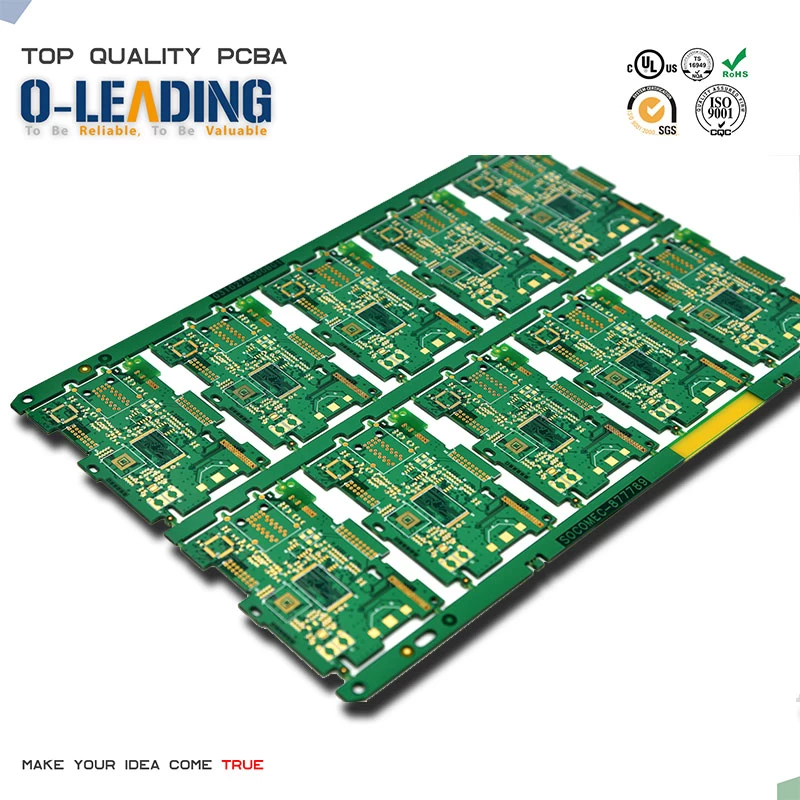
The manufacturing method of the printed board can be divided into two major categories: subtraction method (reduction method) and addition method (addition method). At present, large-scale industrial production is mainly based on the method of reducing the corrosion of copper foil in the method.
5. Especially the FPC flexible board's bending resistance, precision, and better application to high-precision instruments (such as cameras, mobile phones, cameras, etc.)
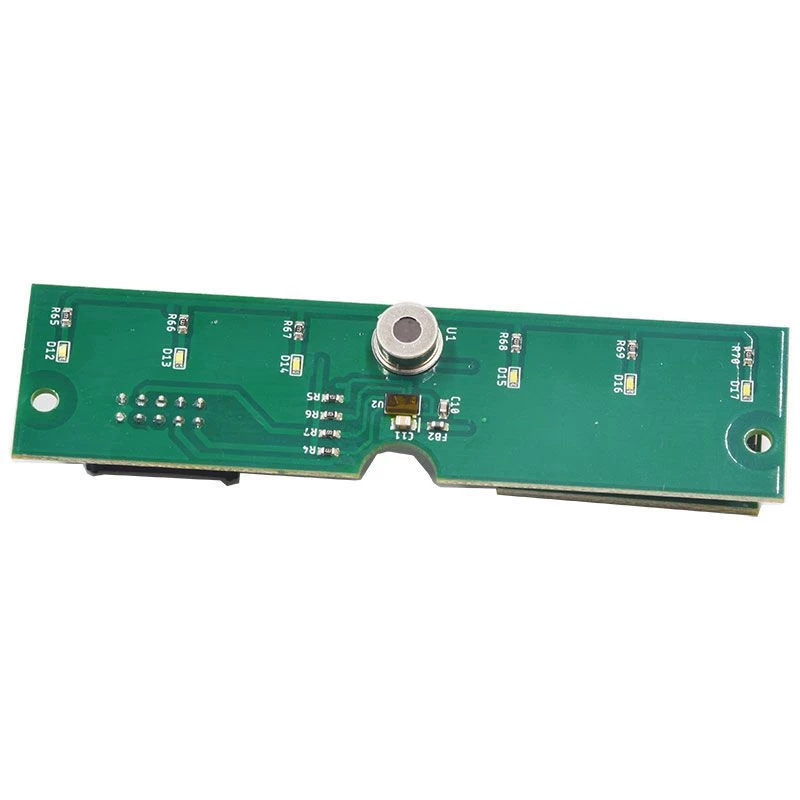
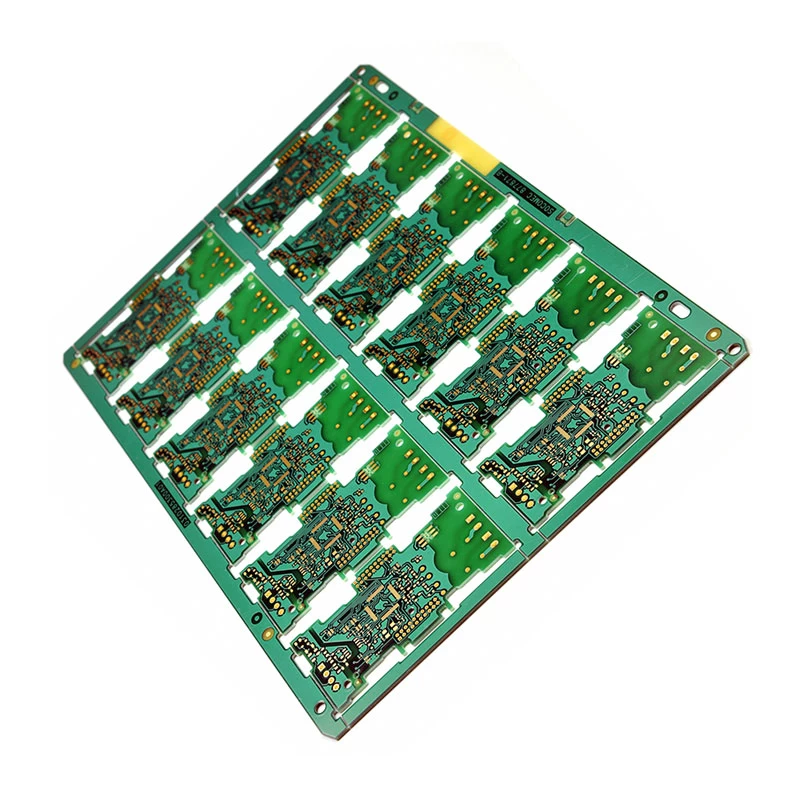
Copying board steps: The first step is to get a PCB. First record the model, parameters, and position of all the components, especially the diode, the direction of the three-stage tube, and the direction of the IC notch. It is best to take a photo of two positions at the digital camera with a digital camera. The current PCB board is getting higher and higher. The above diodes are not noticed at all.
In the second step, all the multi-layer board parts are removed and the tin in the PAD hole is removed. Clean the PCB with alcohol and put it into the scanner. When scanning, the scanner needs to slightly raise some scanned pixels to get a clearer image.
Then polish the top and bottom layers slightly with water gauze, polish it to the copper film, put it into the scanner, start PHOTOSHOP, and scan the two layers separately by color. Note that the PCB must be placed horizontally and vertically in the scanner, otherwise the scanned image will not be used.
In the third step, adjust the contrast and brightness of the canvas so that the portion with the copper film and the portion without the copper film are strongly contrasted, then turn the secondary image to black and white to check whether the line is clear.
If it is not clear, repeat this step. If it is clear, save the image as black and white BMP format files TOP.BMP and BOT.BMP. If you find that there is a problem with the graphics, you can use PHOTOSHOP to fix and correct it.
The fourth step is to convert the two BMP files into PROTEL format files, and transfer them into two layers in PROTEL. If the two layers of PAD and VIA are basically coincident, it indicates that the first few steps are very good. If there is a deviation, repeat the third step. Therefore, pcb copy board is a very patient work, because a small problem will affect the quality and the degree of matching after copying.
In the fifth step, convert the BMP of the TOP layer to TOP.PCB. Note that the layer to be converted to the SILK layer is the yellow layer. Then you trace the line in the TOP layer and place the device according to the drawing in the second step. Remove the SILK layer after painting. Repeatedly knowing to draw all the layers.
In the sixth step, TOP.PCB and BOT.PCB are transferred in PROTEL, and it is OK to combine them into one picture.
In the seventh step, use the laser printer to print TOP LAYER and BOTTOM LAYER on the transparencies (1:1 ratio), put the film on the PCB, and compare whether there is any error. If it is correct, you are done.
A copy board like the original one was born, but it was only half done. Also test, test the electronic technology performance of the copy board is the same as the original board. If it is the same, it is really done.