


PCB debugging and troubleshooting
PCB board debugging steps
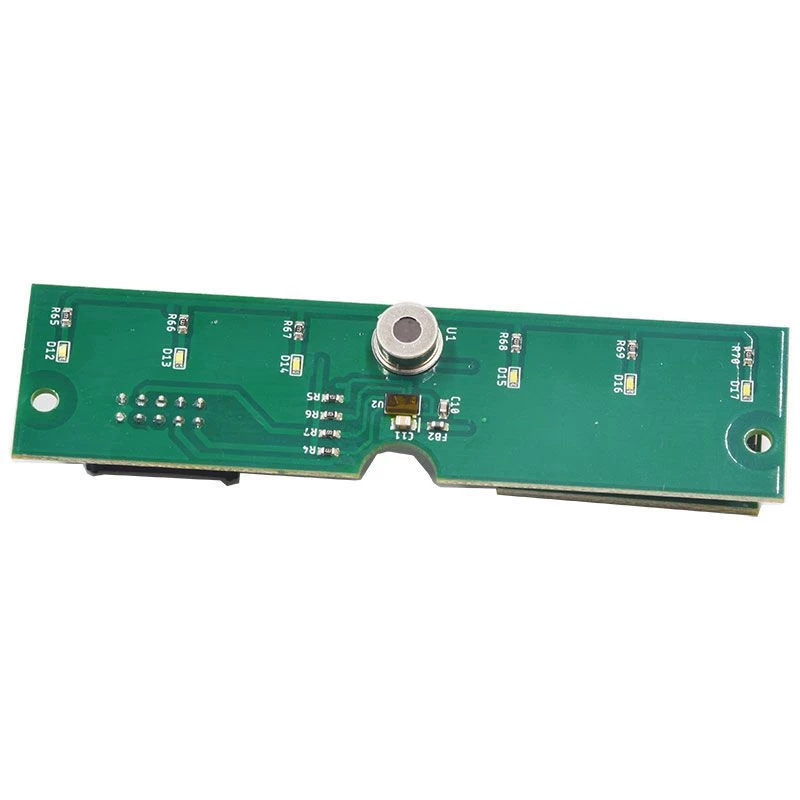
For the new PCB board that we just got back, we must first observe whether there are any problems on the board, such as whether there are obvious cracks, short circuit or open circuit. If necessary, check if the resistance between the power supply and the ground is large enough.
Then there is the component installed. Modules that are independent of each other, if you are not sure that they are working properly, it is best not to install them all, but to install some of them (for smaller circuits, you can install them all at once), so that it is easy to determine the fault range. When you have problems when you are not getting it, you can't start.

In general, you can install the power supply first, and then power on to check if the power supply output voltage is normal. If you don't have much control when powering up (even if you have great confidence, it is recommended to add a fuse, just in case), consider using an adjustable regulated power supply with current limiting.
First, preset the overcurrent protection current, then slowly increase the voltage value of the regulated power supply, and monitor the input current, input voltage, and output voltage. If there is no overcurrent protection and other problems during the upward adjustment, and the output voltage is also normal, the power supply is OK. Otherwise, disconnect the power supply, look for the point of failure, and repeat the above steps until the power is normal.
Next, gradually install other modules. Each time a module is installed, it is powered on and tested. When powering up, follow the above steps to avoid over-current and burn out components due to design errors or/and installation errors.
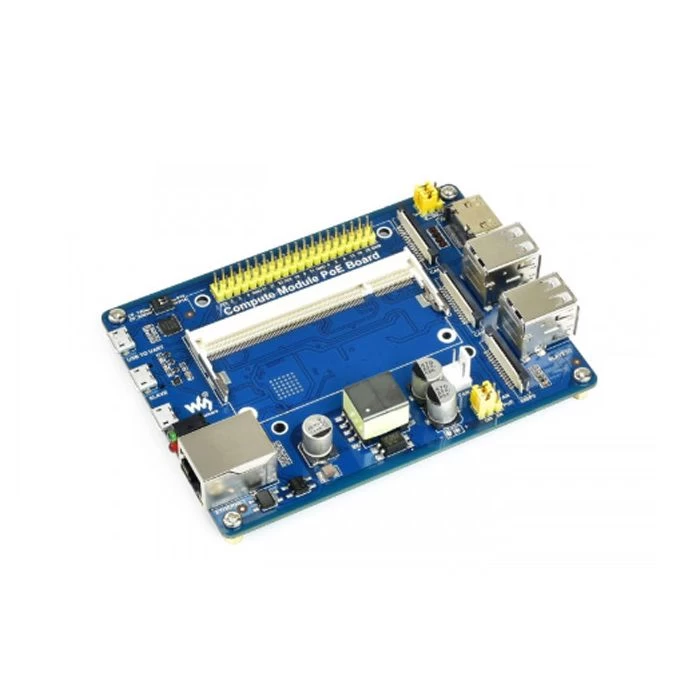
3D printer PCB supplier.

Looking for a faulty PCB board
Measuring voltage method to find faulty PCB board
The first thing to confirm is whether the voltage of each chip's power supply pin is normal, and then check whether the various reference voltages are normal, and whether the working voltage of each point is normal. For example, when a general silicon transistor is turned on, the BE junction voltage is about 0.7V, and the CE junction voltage is about 0.3V or less. If the BE junction voltage of a triode is greater than 0.7V (except for special triodes, such as Darlington), it may be that the BE junction is open.

Other ways to find faulty PCB boards
There are many other ways to find fault points, such as watching, listening, smelling, and touching.
"Look" is to see if the component has obvious mechanical damage, such as cracking, blackening, deformation, etc.;
"Listening" means listening to whether the working voice is normal. For example, some things that should not be ringing are ringing, the place where the ringing is not ringing or the sound is not normal, etc.;
"Smell" is to check for odor, such as the smell of charred, the taste of the capacitor electrolyte, etc., which is very sensitive to an odor for an experienced electronic maintenance person;
“Touch” is to test the temperature of the device by hand, such as too hot, or too cold.
Some power devices will generate heat when they work. If they are cold, they can basically be judged that they are not working. But if the hot place is not hot or the hot place is too hot, it will not work. General power triodes, voltage regulator chips, etc., working below 70 degrees is completely ok. What is the concept of 70 degrees? If you press your hand up, you can stick to the left and right, it means the temperature is about 70 degrees (note that you have to tentatively touch it first, don't burn your hand).