


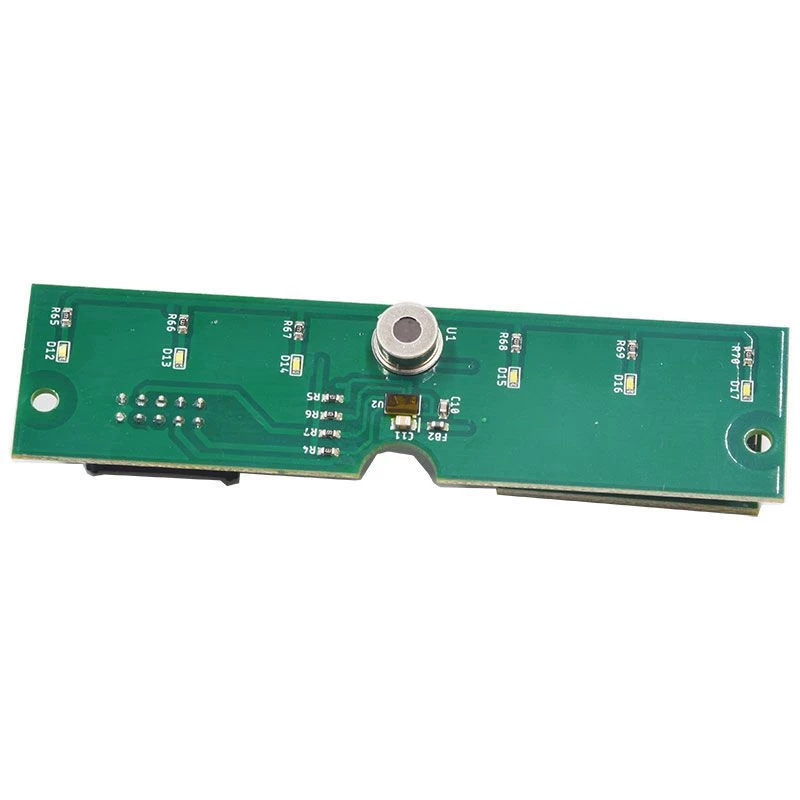


How to judge IC chip in PCB board
First, check the board method:
1. Observation method: whether there is burnt, burnt, foaming, board breakage, socket rust.
2. Table measurement method: Whether the +5V, GND resistance is too small (below 50 ohms).
3. Power-on check: For the bad board, the high voltage can be slightly adjusted to 0.5-1V. After the power is turned on, the IC on the hand-held board is used to make the problematic chip heat up, so that it is perceived.
4. Logic pen check: Check whether the signal is strong or weak at each end of the IC input, output, and control poles that are suspected.
5. Identify the major work areas: Most boards have a clear division of labor, such as: control area (CPU), clock area (crystal) (frequency division), background picture area, action area (person, aircraft), sound synthesis District, etc. This is very important for in-depth repair of the computer board.
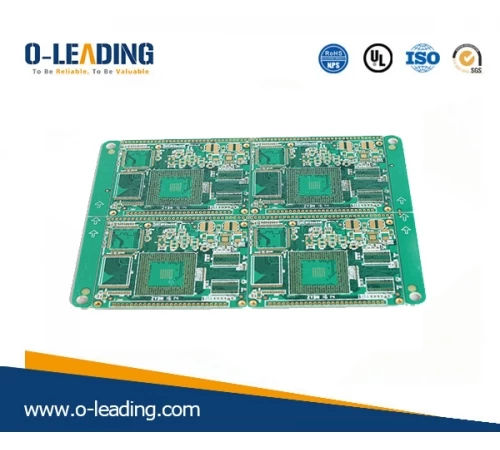
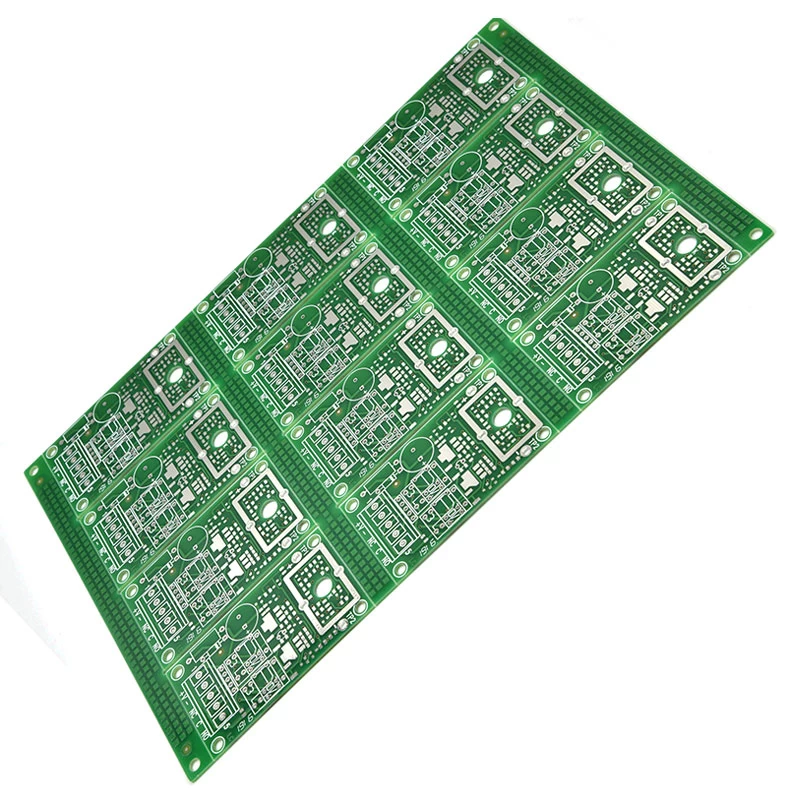
Multilayer board manufacturer china
Second, troubleshooting methods:
1. Will suspect the chip, according to the instructions of the manual, first check whether there is a signal (waveform) at the input and output terminals, if there is no input, then check the IC's control signal (clock), etc. If any, this IC is bad The possibility of *maximum, no control signal, traces to its previous pole until it finds a damaged IC.
2. Do not remove the pole from the pole and choose the same model. Or the IC with the same program content is on the back, and boot to see if it is better to confirm whether the IC is damaged.
3. Use the tangential line and jumper line method to find the short-circuit line: find some signal lines and ground lines, +5V or other multiple ICs should not be connected to the short-circuited foot, you can cut the line and measure again, judge whether it is an IC problem or a board-side routing problem. Or, if the signal is borrowed from other ICs and soldered to the IC with the wrong waveform, it is better to judge whether the picture is good or not.
4. Control method: Find a good computer board with the same content to measure the pin type of the corresponding IC and the number of the IC to confirm whether the IC is damaged.
5. Test the IC with the ICTEST software in the microcomputer universal programmer (ALL-03/07) (EXPRO-80/100, etc.).
Third, the chip removal method:
1. Shearing method: no damage to the board, can not be recycled.
2. Drag the tin method: solder the tin on both sides of the IC pin, use the high temperature soldering iron to drag back and forth, and start the IC (easy to damage the board, but can protect the test IC).
3. Barbecue method: grilling on alcohol lamps, gas stoves, electric stoves, etc. After the tin is melted on the board, IC is produced (not easy to grasp).
4. Tin pot method: use a special tin pot on the electric furnace. After the tin is melted, the IC to be unloaded on the board is immersed in the tin pot, and the IC can be taken out without damaging the board, but the equipment is not easy to manufacture.
5. Electric air gun: Unload the chip with a special electric air gun, blow the IC pin part to be unloaded, and then the IC after the tin is taken out.
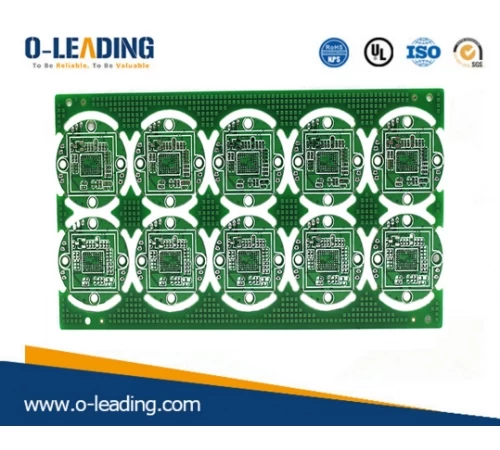
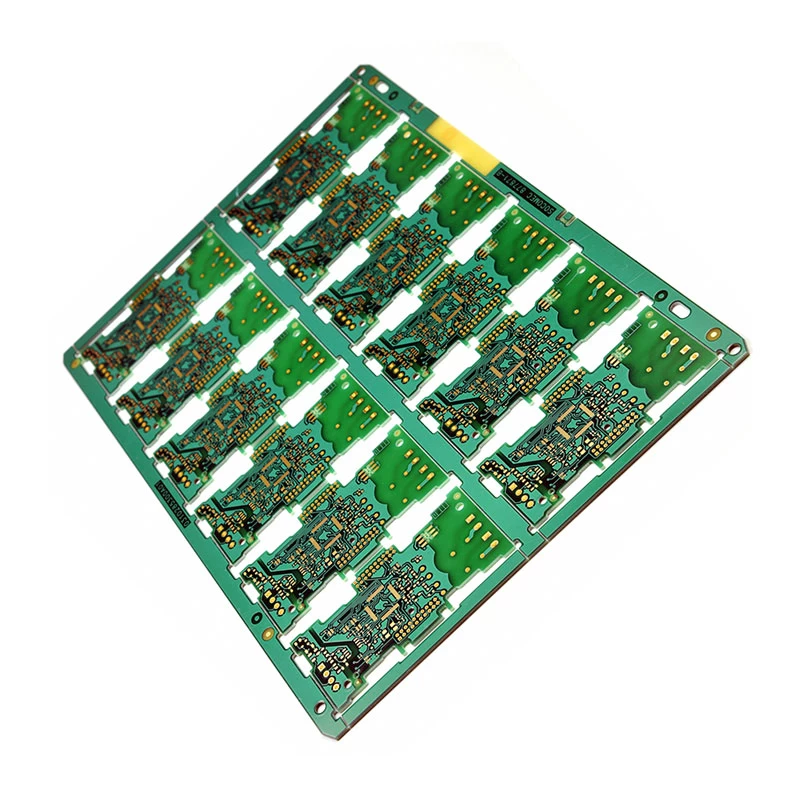
Quick Turn PCB supplier chinak
As a professional hardware repair, board repair is one of the most important projects. Take a faulty motherboard, how to determine which component has a problem?
The main causes of motherboard failure are:
1. Man-made faults: Plug-in I/O cards with power, and damage to interfaces, chips, etc. caused by improper force when loading boards and plugs.
2. Poor environment: Static electricity often causes the chip on the motherboard (especially the CMOS chip) to be broken down. In addition, when the motherboard encounters a power supply damage or a spike generated by the grid voltage, it often damages the chip near the power supply plug of the system board. If the motherboard is covered with dust, it will also cause a signal short circuit.
3. Device quality issues: Damage due to poor quality of the chip and other devices.
The first thing to note about cleaning is that dust is one of the biggest enemies of the motherboard. It is best to pay attention to dustproof. Use a brush to gently brush the dust on the motherboard. In addition, some cards on the motherboard and chips are in the form of pins, which often lead to poor contact due to oxidation of the pins. Use an eraser to remove the surface oxide layer and re-plug it. Of course, we can use trichloroethane - a good volatility, one of the liquids to clean the motherboard.
There is also a sudden power failure, you should immediately turn off the computer, so as not to suddenly call the motherboard and power supply burned. Process. BIOS Due to improper BIOS settings, if overclocking... you can jump to clear the line and pick it up again. If the BIOS is corrupted, such as a virus intrusion..., you can rewrite the BIOS. Because the BIOS cannot be measured by the instrument, it exists in the form of software. In order to eliminate all the causes that may cause problems on the motherboard, it is best to brush the motherboard BIOS.
There are many reasons for the failure of the plug-in switch host system. For example, the motherboard itself or various card faults on the I/O bus can cause the system to malfunction. The plug-and-play maintenance method is a simple method to determine the fault on the motherboard or I/O device. The method is to shut down the plug-in board one by one, and each time a board is pulled out, the machine is running to observe the running state of the machine. Once the board is operated normally after pulling out a certain block, the fault is caused by the fault of the board or the corresponding I/O bus slot. And the load circuit is faulty.
If the system startup is still not normal after all the boards are removed, the fault is likely to be on the motherboard. The exchange method is basically to exchange the same type of plug-in board, the bus mode is the same, the function of the same board or the same type of chip mutual chip exchange, according to the change of the fault phenomenon to determine the fault. This method is mostly used in easy-to-plug maintenance environments, such as memory self-test errors, and can exchange the same memory chip or memory stick to determine the cause of the fault. Watching and getting a faulty motherboard first sweep it with your eyes to see if there are no signs of burnout, the appearance is not damaged, see if the plugs and sockets are skewed, whether the resistors and capacitor pins touch each other, whether the surface is burnt, the chip Whether the surface is cracked or not, the copper foil on the main board is blown. Also check to see if any foreign objects fall between the components of the motherboard. In the case of doubt, you can use the universal meter to measure it. Touch the surface of some chips, if it is abnormally hot, you can try another chip.

(1). If the connection is broken, we can use a knife to scrape off the paint at the broken line, apply wax to the exposed wire, and then use the needle to follow the trace to remove the wax. The next step is to deposit a silver nitrate solution. Then use the universal meter to confirm whether to connect the breakpoints. Just one by one, you can connect the breakpoints. Pay attention to one by one, don't worry, the distance between the traces on the main board is very small, if it is not good, it will be short-circuited.
(2). If it is an electrolytic capacitor, you can find a matching replacement. Universal meter, oscilloscope tool Use the universal meter and wave device to measure the power supply of each component of the motherboard. One is to check whether the motherboard supplies power to this part, and then whether the voltage of the power supply is normal. Resistance and voltage measurement: Power failure includes +12V, +5V and +3.3V power supply and Power Good signal failure on the main board; bus faults include faults caused by the bus itself and bus control; component failures include resistors, capacitors, integrated circuit chips and Failure of other components. To prevent accidents, measure the resistance between the +5V and ground (GND) power supply on the motherboard before powering up. The easiest way is to measure the resistance between the chip's power pin and ground. When the power plug is not plugged in, the resistance should be 300Ω and the minimum should not be less than 100Ω. Then measure the reverse resistance value, slightly different, but not too much difference. If the forward and reverse resistance is small or close to conduction, it indicates that a short circuit has occurred and the short cause should be checked.
There are several reasons for this type of phenomenon:
(1) There is a chip that is broken down on the system board. Generally speaking, such faults are more difficult to rule out. For example, the +5V of the TTL chip (LS series) can be connected together to suck the solder on the +5V pin, suspend it, and measure one by one to find the faulty film. If the secant method is adopted, it will inevitably affect the life of the motherboard.
(2) There is a damaged resistor and capacitor on the board.
(3) Conductive impurities are stored on the board.

After eliminating the short circuit fault, plug in all the I/O cards and measure +5V, and whether +12V is shorted to ground. In particular, if +12V is in contact with the surrounding signal. When there is a good motherboard of the same type on hand, you can also measure the suspected points on the board by measuring the resistance value. By comparison, you can find the chip fault quickly. When none of the above steps are effective, the power supply can be plugged in for power up measurement. Generally measure the power supply +5V and +12V. When it is found that a certain voltage value is too far from the standard, the voltage can be measured by dividing or cutting some leads or unplugging some chips. When a certain lead is cut or a chip is unplugged, if the voltage becomes normal, the lead-extracted component or the unplugged chip is the fault.
Program and Diagnostic Card Diagnostics With random diagnostic programs, dedicated maintenance diagnostic cards, and various technical parameters (such as interface addresses), self-programming dedicated diagnostic programs to assist hardware repair can achieve twice the result with half the effort. The principle of the program test method is to use software to send data, commands, and identify the fault location by reading the line status and the status of a chip (such as a register).
This method is often used to check various interface circuit failures and various circuits with address parameters. However, the premise of this method is that the CPU and the base bus are running normally, and the diagnostic software can be run, and the diagnostic card installed in the I/O bus slot can be run. The prepared diagnostic program should be strictly and comprehensively targeted*, which can make regular signals appear in certain key parts, can repeatedly test for accidental faults and can display recording errors.
Fourth, the IC good and bad method
1. Out of road detection
This method is carried out when the ic is not soldered into the circuit. In general, a multimeter can be used to measure the positive and negative resistance values of each pin corresponding to the ground pin, and compared with the intact ic. This is a method for detecting the DC resistance of each pin in the circuit (ic in the circuit), the AC voltage to the ground, and the total operating current through a multimeter. This method overcomes the limitation that the replacement test method needs to replace the ic* and disassemble the ic. It is the most common and practical method for detecting ic.
2. DC operating voltage measurement
This is a kind of measurement of the DC supply voltage and the operating voltage of the peripheral components by the multimeter DC voltage block under the condition of power-on; detecting the DC voltage value of each pin to ground, and comparing with the normal value, thereby compressing the fault range. A damaged component.

Pay attention to the following eight when measuring:
(1) The multimeter should have a large internal resistance, which is less than 10 times the resistance of the circuit under test, so as not to cause a large measurement error.
(2) Usually, each potentiometer is rotated to the middle position. If it is a TV set, the signal source should use a standard color bar signal generator.
(3) The test leads or probes should be anti-slip. It is easy to damage ic due to any short circuit. The following method can be used to prevent the pen from sliding: take a valve core of the bicycle and set it on the tip of the watch, and grow the tip of the watch to about 0.5mm, which can make the tip of the watch be in good contact with the tested point, and can effectively prevent slippage. Even if it hits an adjacent point, it will not be short-circuited.
(4) When the measured voltage of a certain pin does not match the normal value, it should be analyzed according to whether the voltage of the pin has an important influence on the normal operation of ic and the corresponding change of other pin voltages, and the ic can be judged to be good or bad.
(5) The ic pin voltage is affected by peripheral components. When the peripheral components are leaking, short-circuiting, open-circuiting or variable value, or the peripheral circuit is connected to a potentiometer with variable resistance, the position of the potentiometer sliding arm is different, which will change the pin voltage.
(6) If the voltage of each pin of ic is normal, it is generally considered that ic is normal; if the voltage of the pin of ic is abnormal, it should start from the maximum deviation from the normal value to check whether the external components are faulty. If there is no fault, ic is likely to be damaged. .
(7) For dynamic receiving devices, such as televisions, the voltage of each pin of ic is different when there is no signal. If it is found that the voltage of the pin does not change, the change is large, and the change of the signal size and the position of the adjustable component does not change, and the ic damage can be determined.
(8) For devices with multiple working modes, such as video recorders, the voltages of the ic pins are different under different working modes.
3. AC working voltage measurement
In order to grasp the change of the ic AC signal, the AC working voltage of the ic can be approximated by a multimeter with a db jack. When testing, the multimeter is placed in the AC voltage block, and the positive pen is inserted into the db jack. For the multimeter without the db jack, a 0.1~0.5μf DC blocking capacitor needs to be connected in series with the positive pen. This method is applicable to ic with lower operating frequency, such as video amplification stage and field scanning circuit of TV sets. Since the natural frequencies of these circuits are different and the waveforms are different, the measured data is an approximation and can only be used for reference.
4. Total current measurement
This method is a method to judge whether the ic is good or bad by detecting the total current of the ic power supply. Since most of the ic is directly coupled, when the ic is damaged (such as a pn junction breakdown or open circuit), it will cause the latter stage to be saturated and cut off, causing the total current to change. Therefore, the method of measuring the total current can judge the quality of ic. It is also possible to measure the voltage drop of the resistance in the power supply path and calculate the total current value using Ohm's law.
O-Leading Supply Chain CO., LTD
TEL: + 86-752-8457668
Fax: + 86-4008892163-239121
+ 86-2028819702-239121